Drip Irrigation for Beginners
Drip irrigation delivers water right to plant roots, saving water and time and keeping leaves dry. Here's how a simple drip system works, the parts you need, how to set one up for beds and containers, and how to look after it.
By Pond.com editors Updated 3 min read

Quick answer
- Drip irrigation slowly delivers water directly to the soil at plant roots through tubing and emitters.
- It uses much less water than sprinklers and keeps leaves dry, which helps prevent disease.
- A basic system needs a backflow preventer, filter, pressure regulator, tubing, emitters or drip line, and end caps.
- Add a battery or smart timer to water automatically, ideally early in the morning.
- Flush the lines and check emitters each spring, and drain the system before freezing weather.
Watering by hand takes time, and sprinklers waste water on paths, leaves and evaporation. Drip irrigation solves both problems by slowly delivering water right where plants need it. A simple system for a few beds can be set up in an afternoon with no special tools.
How drip irrigation works
Water flows from your faucet through a small filter and pressure regulator into flexible tubing laid along your beds. Small emitters, either plugged into the tubing or built into it at set spacings, release water slowly at a set rate, usually measured in gallons per hour (GPH).
Benefits:
- Uses much less water than sprinklers.
- Keeps leaves dry, reducing fungal disease.
- Waters evenly and deeply.
- Fewer weeds, since paths stay dry.
- Works with timers for automatic watering.
The parts you need
Most beginners start with a kit, which includes:
- Backflow preventer: stops garden water flowing back into your household supply.
- Filter: keeps debris from clogging emitters.
- Pressure regulator: reduces household water pressure to suit drip tubing.
- Main tubing (usually ½-inch) to carry water to beds.
- Drip line with built-in emitters, or plain tubing plus separate emitters.
- ¼-inch microtubing and connectors to reach individual plants or pots.
- Stakes, end caps and a hole punch.
- A timer (optional but recommended).
Setting it up
- Sketch your beds and measure the distance from the faucet.
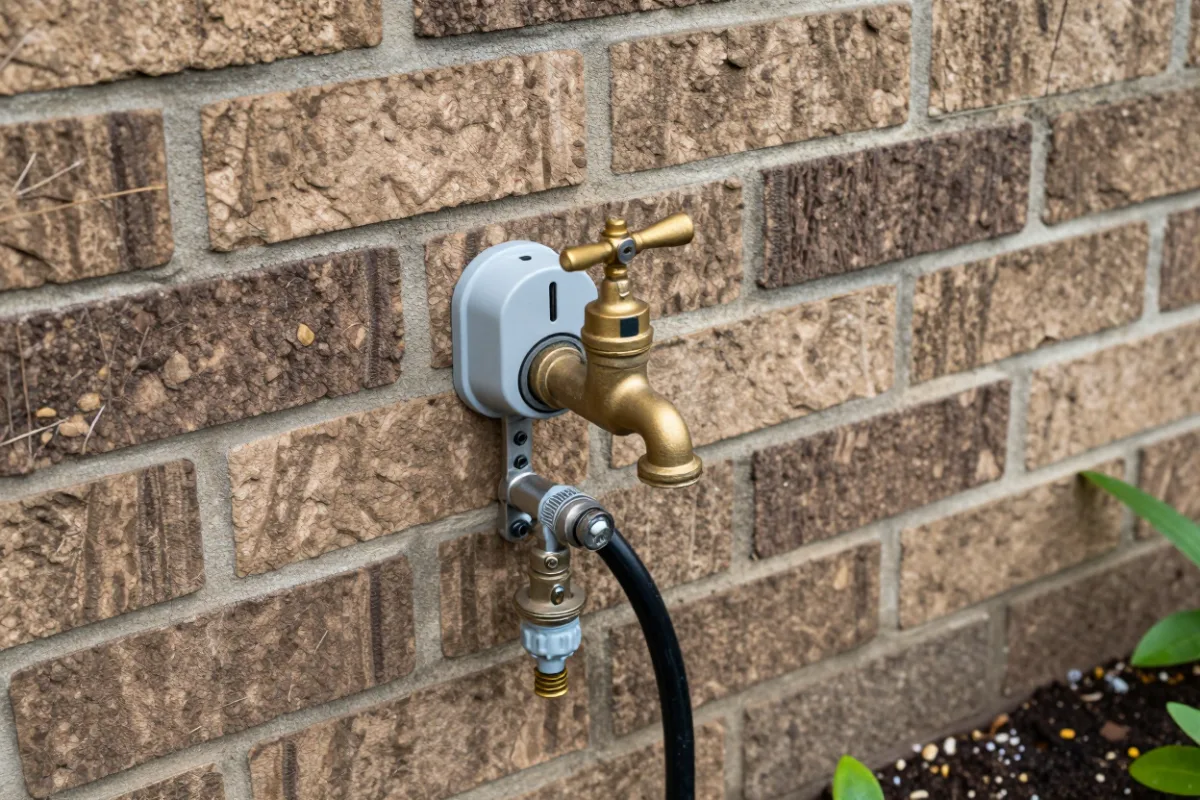
- Attach the head assembly to the faucet in order: timer (if using), backflow preventer, filter, pressure regulator, then main tubing.
- Run the main tubing to your beds, using elbows and tees at corners and branches.
- Lay drip line along rows of plants, about 12 inches apart for densely planted beds, or run microtubing to individual plants and containers.
- Pin the tubing in place with stakes.
- Close the ends with end caps or figure-eight closures.
- Turn on the water and check every emitter is dripping.
- Cover with mulch to hide the tubing and reduce evaporation.
Watering schedules
- Water early in the morning.
- Water deeply and less often: start with 30 to 60 minutes two or three times a week, and adjust by checking the soil a few inches down.
- Change schedules with the seasons, and pause after heavy rain.
Maintenance
- Flush lines each spring by removing end caps and running water through.
- Clean the filter a few times a season.
- Check for clogged or broken emitters and chewed tubing.
- Before freezing weather, drain the system, bring the timer, filter and regulator indoors, and leave end caps open.
Common questions
They're similar. A soaker hose weeps water along its whole length, which is simple and cheap but less even, especially on slopes or long runs. Drip irrigation uses emitters with set flow rates, so it waters more evenly and can be tailored to each plant.
It depends on your soil, plants, emitter flow and the weather. Start with 30 to 60 minutes two or three times a week, then check how deep the soil is moist a few inches down and adjust. Water deeply and less often rather than a little every day.
Yes. Most home drip kits connect to a standard hose faucet. Use a backflow preventer, a filter and a pressure regulator at the faucet, then run the main tubing to your beds.